After many years of growing chillies it’s become a habit to use artificial lighting early in the year to start my seedlings before Spring arrives in earnest. For the last few years I’ve mainly been using my old grow box which has been cluttering up the house every year for far too long. After a few years of good service the light fittings were on their way out after being dropped too many times so I decided it was time to find a replacement.
While there are some very nice looking grow tents on the market I opted to try and repurpose as much of the junk in my shed as possible first and only resort to an off the shelf option as a last resort. I soon identified an old kitchen unit which is currently used to store junk. After not much thought the junk was swiftly relocated and the inside shelf removed… 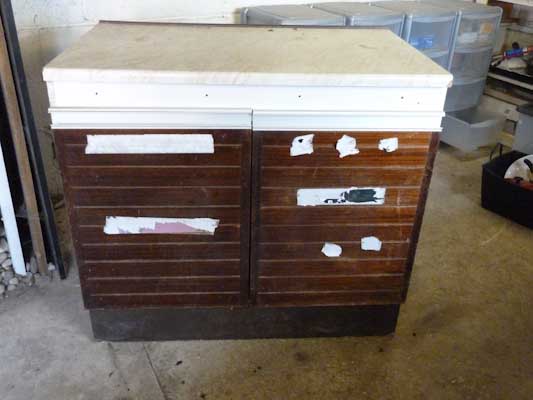
 After a quick wipe down it was looking pretty ideal as a grow cupboard. It could live where it was and would be able to house plants up to about 50cm high. I’m not planning on keeping my pepper plants in here through to the fruiting stage. I only plan to use it to bring on seedlings with the help of CFL or maybe LED lights until the weather is warm and sunny enough for the plants to either go outside or into the greenhouse.
The Plan
The idea is to leave the grow box down in the shed so I’d ideally need some insulation to keep the heat inside. Another definite requirement was the ability to adjust the height of the lights inside, something missing from my old box. In order to power the lights, my heat mat etc I’ll need some sort of power supply in or near it. Apart from these requirements I decided to let it evolve based on what I found in the shed.
The Insulation
The grow box will be positioned out in the shed which is of course unheated. I plan on using a mixture of CFL lights which give off a small amount of heat and I’ll probably use the cupboard to germinate seeds with a little help from my germination mat.
To help keep growing temperatures up high i decided to use some old loft insulation to insulate the base and back of the cupboard. I forget the name of the insulation but it is ultra thin (about 2cm) and made up of about 10 layers of aluminum and fiber glass webbing stitched together.
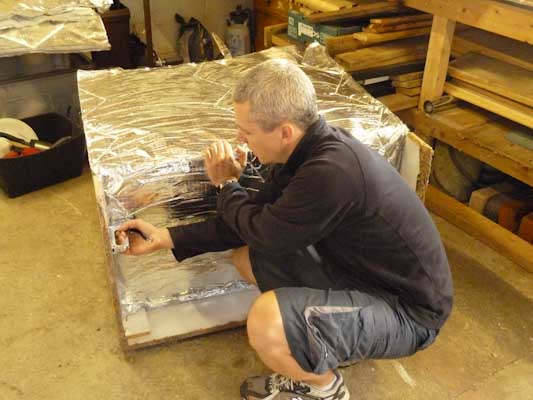
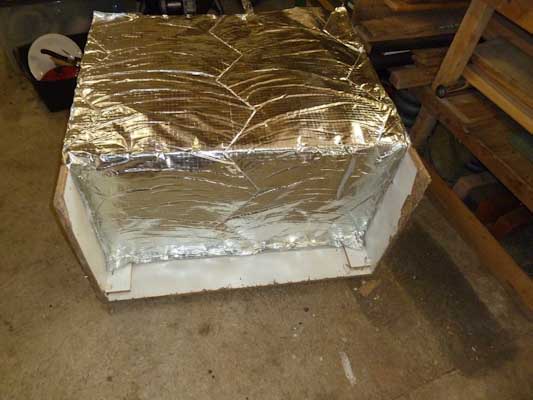
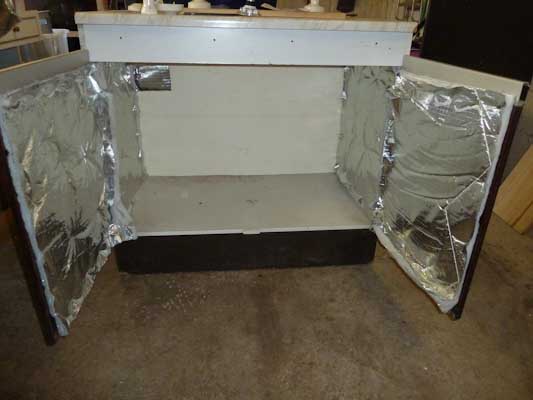 With the bottom and back insulated I also decided to do the inside the doors and sides of the cupboard to help cut down on any heat loss and drafts. The silver coating on the insulation is a bit of a bonus as it will hopefully help reflect the light around inside the box to ensure the plants get the most benefit from any lights in there. Up in the top left of the box I cut out a small square so I can run cables through for the lights and heat mat. Depending on what temperatures I get I may also have to add a small fan at some stage. So with the box fully insulated it was ime to think about lighting.
The Lights
The bulbs I’ll initially be using in the grow box are 30W Compact Fluorescent bulbs from Green Lamp via Amazon. They are slightly more powerful than the average CFL energy saving bulbs (which are typically 11W) so should be ideal for my chilli plants. Each bulb throws out the equivalent light to a 150W incandescent bulb. The advantage of these CFL bulbs is that they are cheaper to run than regular bulbs and they don’t bleed energy in the form of heat which can easily scorch young tender seedlings.
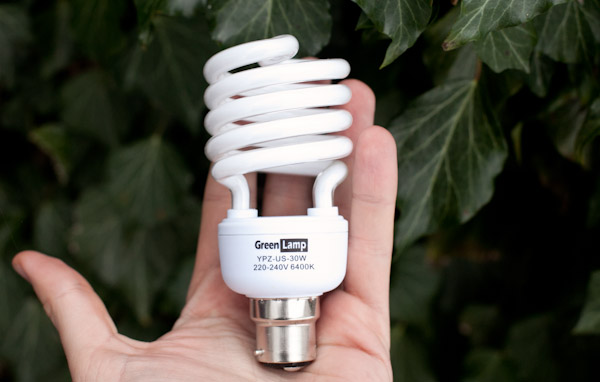
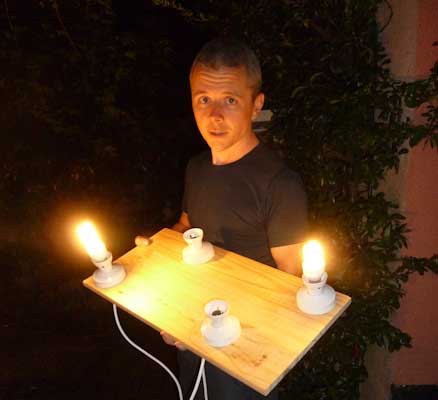
I decided to mount 4 of these onto a light weight pine board which will allow me to adjust the lights up and down according to the height of the plants inside. After deciding on the placement of the bulbs I marked round them with a pencil before cutting a couple of holes in each for the wires.
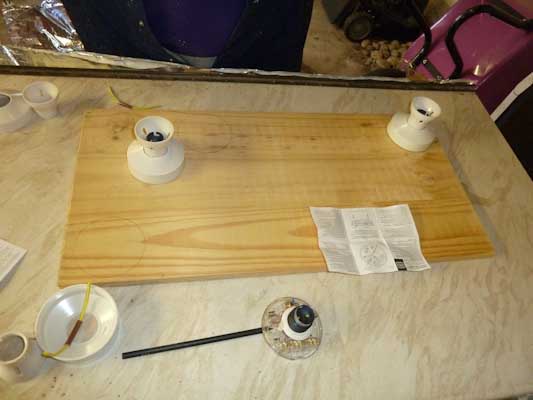
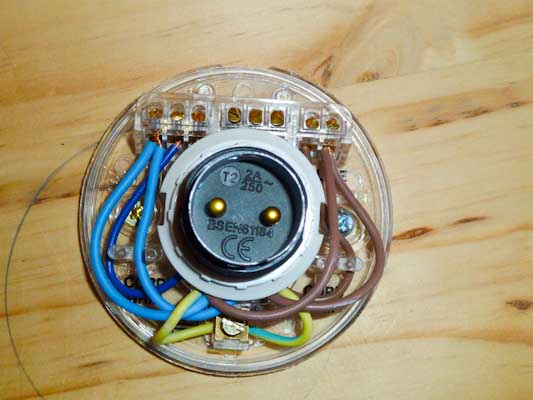
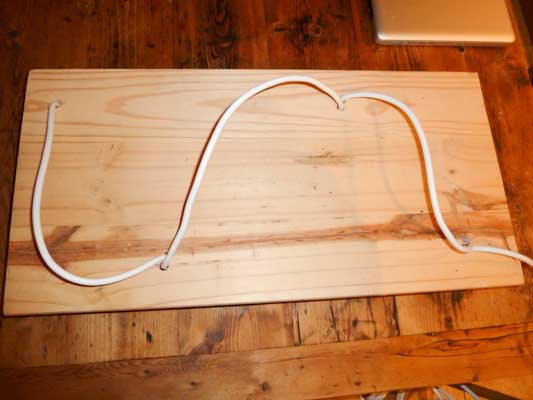
The wiring took a while to do but was relatively simple to do with each fitting wired up in a line next to each other. I took my time and opted to keep all of the wiring on top of the light rig out of harms way. This meant a bit more drilling and took a bit longer but would ultimately lead to a neater job. After a good half an hour it was time to test my electrical skills….
The Hanging System
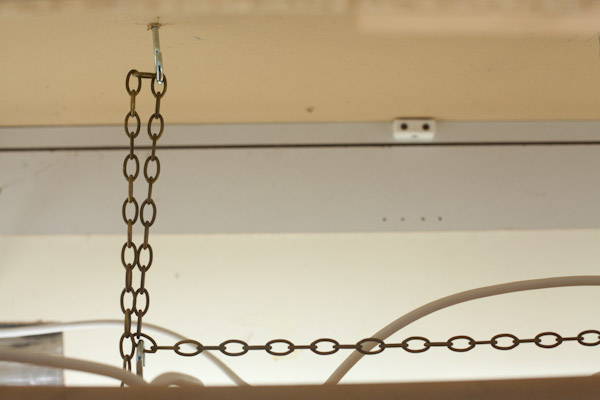
So fully tested it’s time to mount the lights inside the cupboard. I’ll probably experiment with using both these regular domestic CFL bulbs (x4) and my old 125 Nurturlite so I need a flexible hanging system to allow me to easily swap out the lights. After a quick rummage in the shed I found a length of chain and some sturdy metal hooks. I simply screwed two hooks on to the ‘ceiling’ of the cupboard and a couple to the top of the light rig. I then run the chain in a U shape through all of the hooks to hang the rig. The beauty of using this chain system is that it is very quick and easy to adjust the height of the lights or remove the whole rig if I want to put my Nuture light in there at some stage.
And so for the cost of the 4 bulbs, 4 light fittings and a few bits and bobs lying around in the shed I’ve got what I hope to be a pretty good little grow cupboard…
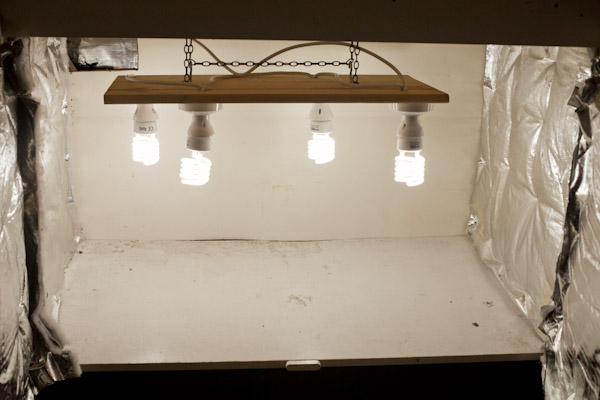
So this weekend I’ll be moving some of my seedlings into their new home. As with using any propagator, grow box or tent I’ll be using a thermometer to keep track of the temperatures inside and gradually build up the time the lights are left on so as not too burn any seedlings.





Nice grow box…better than mine…I just have a large storage box lined with foil, and I bought and red/blue led panel, which is very low heat/energy. Never seen superhots so advanced at such an early point of the year.