
Here we have pulled together a collection of our most popular articles to help you grow healthy chilli plants. With the help of the below articles you should have all of the information you need to help you source chilli seeds, grow your plants, ward off pests and disease, harvest chilli peppers and even store your crop for use throughout the winter.
Start growing chillies here
Search our article database below or browse some of our most popular recipes and growing chilli guides.

Growing Guide
This is our definitive guide to growing chilli plants. It provides a step by step guide to all the stages you’ll need to go through from selecting and planting seeds, right up until you harvest your home grown chillies.
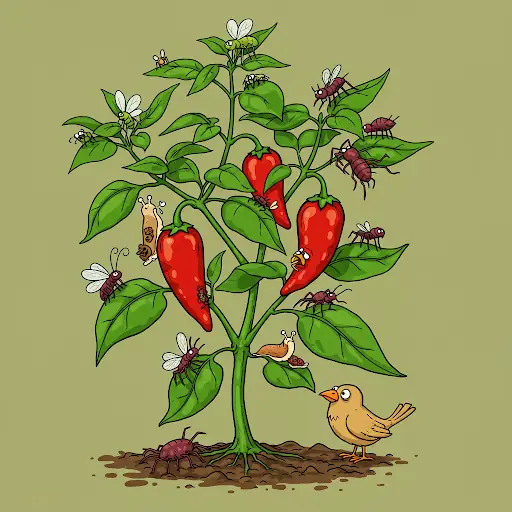
Pest & Diseases
Unless you are very lucky indeed there is a fairly high chance your chilli plants may encounter some form of pests or disease. Luckily this isn’t as bad as it sounds and most problems are ones you’ll face with all types of vegetable growing. Our pests and diseases article runs down many of the common problems your plants may develop. For more specific advice take a look at these resources on combating slugs and snails or dealing with aphid attacks.
Chilli Grow Lights
We keep saying it but the key to growing healthy chilli plants is to give them lots of light. Many growers supplement natural light in order to get the maximum growth from their chilli plants. You can just do this early in the season using cheap household fluorescent lights (like we use to) or you can go the whole hog and use purpose LED grow lights to maximise your harvests and even grow year round. Read our full guide to grow lights for chilli plants.
Over Wintering
A common misconception is that chilli plants are annuals. Too many chilli gardeners throw away their pepper plants at the end of the autumn thinking that they have served their purpose and will die off over the winter. With just a little luck and the invaluable advice from our overwintering article you should be able to get most of your chilli plants through the winter giving you larger, stronger plants next year.
Related: Here is our definitive guide to over wintering chilli plants.
Hydroponics
Growing your chilli plants in a liquid matter with a precise balance of nutrients and minerals (instead of compost) can produce outstanding growth rates and monster harvest of peppers. Take a look at our hydroponics guide here.
Pests & Diseases
Got a problem with your chillies? This article will help you identify and resolve the problem.

Grow Lights Guide
Our complete guide to grow lights for chilli plants based on our 20+ years of growing experience
Ultimate Chilli Growing Guide
The complete step-by-step guide to growing chilli peppers in the UK — from sowing seeds to harvesting your crop.
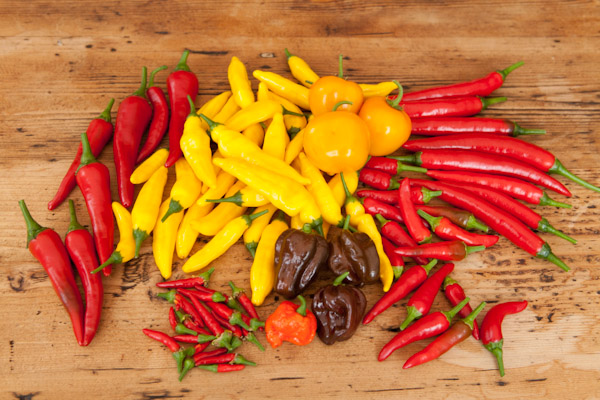
Chilli Pepper Seeds
Selecting the right chilli seeds to use and the initial germination are perhaps two of the most important factors in chilli growing. Our chilli seeds article gives you all the information you need to know about where to buy seeds, how to save your own and some great tips to germinating seeds.
Growing Bell Peppers
We get a lot of emails and questions from readers wanting to know if they need to treat their sweet peppers any different from their hot chilli peppers. We’ve created a specific guide to growing bell peppers to try to help answer some of these questions.
Our Chilli Recipes
Growing your own chillies is only half the fun — here’s what to do with your harvest. Whether you want to preserve your crop, add heat to your cooking or create homemade gifts, we have recipes to suit every level of experience.
Preserves & Pickles
If you’ve had a bumper harvest, preserving is the best way to make it last. Our chilli jelly recipe is a firm favourite — sweet, spicy and perfect with cheese. For something sharper, our pickled jalapeño recipe is quick to make and keeps for months. If you prefer a chunkier preserve, try our chilli chutney recipe.
Sauces & Oils
Homemade chilli oil is one of the most versatile things you can make with fresh chillies — drizzle it over pizza, pasta or eggs. See our chilli oil recipe for a simple method that works with almost any variety. For something more exotic, our aji lemon mango sauce is a tropical treat that works brilliantly with grilled fish or chicken.
Marinades & Spice
For those who love cooking with chillies beyond the jar, our tandoori marinade recipe uses fresh chillies alongside warming spices for an authentic flavour. Fans of Indian cooking will also enjoy our lime pickle recipe — a punchy condiment that takes minutes to prepare.
Something a Bit Different
Not everything has to be about heat. Our perfect pizza recipe uses chilli oil and fresh chillies to add a subtle warmth that keeps you coming back for more.